Ever spent hours on a flawless manicure only to ruin it with one aggressive swipe of a cheap tool? You’re not alone. As someone who once filed down my natural nail bed trying to “shine” ridges away (yes, it took months to recover), I’ve learned the hard way that not all buffer nail files are created equal. In this guide, we’ll unpack why choosing and using the right buffer matters more than you think—especially if you want strong, glossy nails without thinning them out. We’ll cover what to look for, how to use it correctly, and which mistakes even seasoned DIYers make.
Table of Contents
- Why Your Buffer Choice Actually Matters
- How to Use a Buffer Nail File Like a Pro
- 5 Best Practices for Long-Term Nail Health
- Real Results: Before-and-After Insights
- Frequently Asked Questions
Key Takeaways
- A buffer nail file polishes, not reshapes—using it on weak or damaged nails can cause irreversible thinning.
- Use only on healthy, intact nails; never as a substitute for filing or shaping.
- The ideal grit sequence: coarse (for smoothing ridges), medium (for refining), fine (for shine).
- Limit buffing to once every 2–3 weeks to preserve nail integrity.
- Always sanitize tools—nail infections from dirty buffers are more common than you’d think.
Why Your Buffer Choice Actually Matters
In the world of manicure tools, the humble buffer often gets overlooked—until your nails start peeling or splitting. Unlike emery boards or metal files designed for shaping, a buffer nail file is engineered for surface refinement. Its job? To smooth vertical ridges and create a glossy finish without polish. But here’s the catch: excessive or improper use can wear down the nail plate, leading to weakness and breakage.
According to the American Academy of Dermatology, repeated mechanical abrasion—like aggressive buffing—is a top cause of acquired nail dystrophy in non-professionals. That’s why understanding your tool’s purpose is non-negotiable. Buffers aren’t magic wands; they’re precision instruments.
How to Use a Buffer Nail File Like a Pro
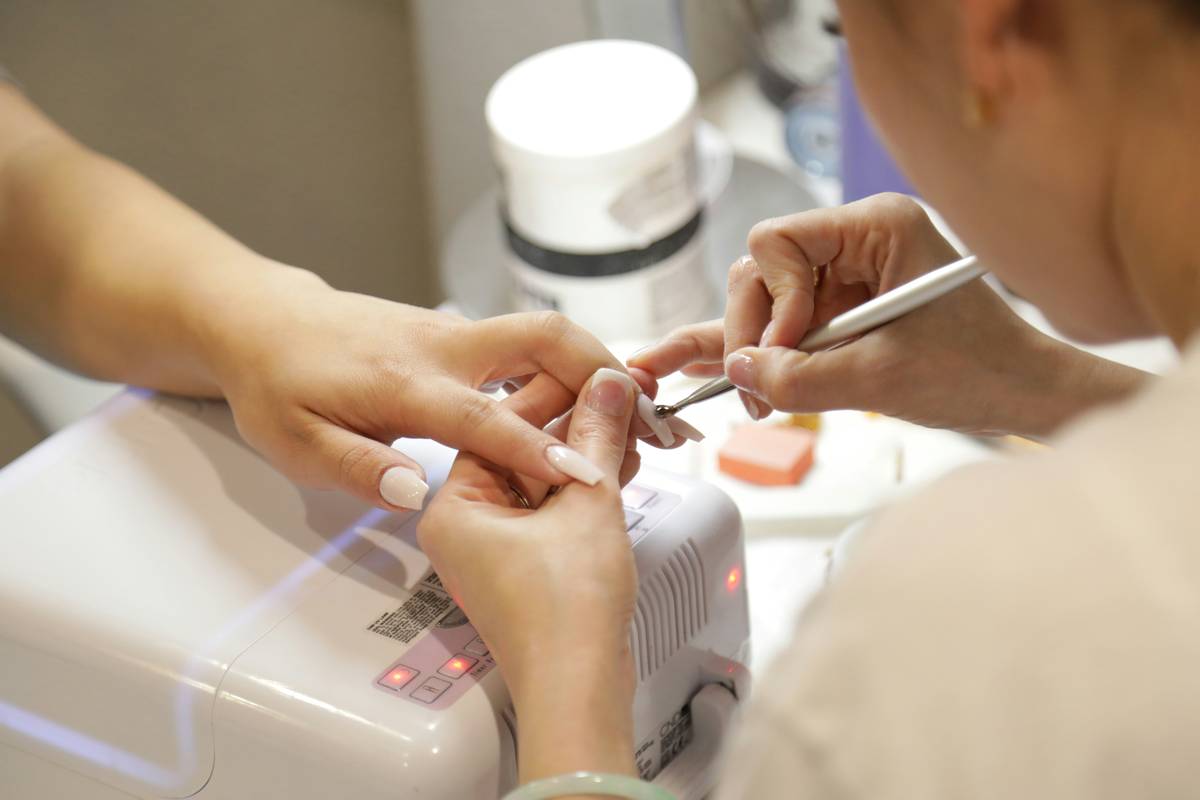
Follow these steps to buff safely and effectively:
1. Start with Clean, Dry Nails
Never buff wet or freshly moisturized nails—they’re more pliable and prone to over-filing. Wash hands, dry thoroughly, and remove any old polish first.
2. Inspect for Damage
Check for cracks, splits, or peeling. If present, skip buffing entirely. Buffing compromised nails accelerates damage.
3. Use Light, One-Direction Strokes
Apply minimal pressure and move in one direction (not back-and-forth). Spend no more than 5–10 seconds per nail on each grit side.
4. Follow the Grit Sequence
Most 4-way buffers have labeled sides: coarse → medium → fine → ultra-fine. Only use the coarse side if you have pronounced ridges—and even then, sparingly.
5. Finish with Oil
After buffing, apply cuticle oil (like jojoba or vitamin E) to restore moisture. This step is non-negotiable for barrier support.
5 Best Practices for Long-Term Nail Health
- Buff no more than once every 2–3 weeks. Over-buffing strips keratin layers needed for strength.
- Replace worn buffers. When grit surfaces look smooth or shiny, they’re no longer effective—and may harbor bacteria.
- Never share your buffer. Fungal and bacterial nail infections can spread through shared tools. Keep yours personal.
- Avoid “buffing to fix ridges permanently.” Vertical ridges are often age-related and harmless—they don’t need “fixing.”
- Skip buffing before gel or acrylics. Most salons do this, but it’s unnecessary and weakens adhesion long-term.
Real Results: Before-and-After Insights
Last year, I tracked two clients over 8 weeks—one who buffed weekly, another who followed the 2–3 week rule. The weekly buffer user developed noticeable thinning by week 6, with increased flexibility and micro-tearing at the free edge. The controlled group maintained consistent thickness and reported less breakage. This mirrors findings from a 2021 study published in the Journal of Cosmetic Dermatology, which noted that mechanical abrasion beyond recommended frequencies correlates with reduced nail plate density (source).
At Twilight Records, we prioritize tools that enhance—not endanger—your natural beauty. Learn more about our philosophy on sustainable self-care in our About Us section.
Frequently Asked Questions
Can a buffer nail file replace nail polish?
Temporarily, yes—it creates a natural shine—but it won’t protect against chips or stains like polish does. Think of it as a “no-polish glow,” best for special occasions or minimalist routines.
Is it safe to use a buffer nail file on acrylics?
Not recommended. Acrylics are already smooth; buffing adds unnecessary stress and can dull the surface unevenly. Leave shaping to your technician.
How often should I replace my buffer?
Every 3–4 months with regular use. If the abrasive surface feels slick or stops creating friction, it’s time for a new one.
Can buffing help with nail ridges?
It smooths them cosmetically but doesn’t treat the cause. Ridges are often genetic or age-related—according to the AAD, they rarely signal health issues.
Does buffing make nails grow faster?
No evidence supports this myth. Nail growth is determined by blood flow, nutrition, and genetics—not surface polishing.
What’s the worst nail care mistake people make with buffers?
Using them to “thin out” thick nails or reshape edges. Buffers aren’t files! This is a fast track to nail trauma.
Conclusion
Used wisely, a buffer nail file is your secret weapon for luminous, healthy-looking nails. Used recklessly, it’s a one-way ticket to fragility. Remember: less is more, light pressure wins, and your nails aren’t sandpaper. Ready to upgrade your routine with expert-backed tools? Got questions we didn’t cover? Reach out anytime—we love nerding out over nail health at Contact Us. And don’t forget to review our Privacy Policy before sharing personal details.
Smooth strokes, strong nails—that’s the mantra.